-
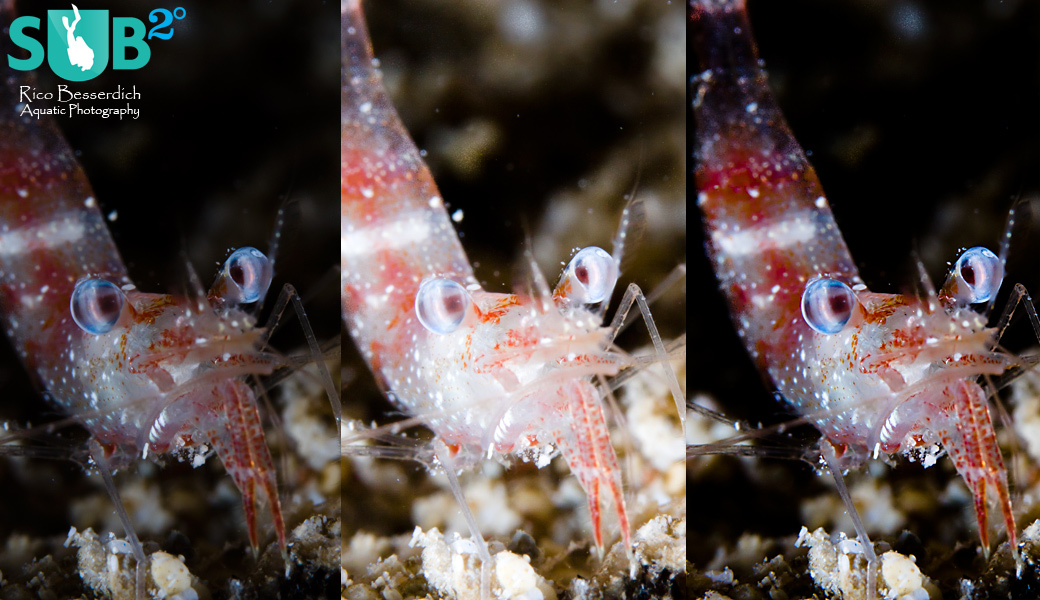
The post production shrimp
3 versions of the same image. 1st: unaltered RAW file from the camera, 2nd: Using the "automatic" function of Adobe Camera Raw, 3rd: same image after a 1 minute manual editing in ACR. -

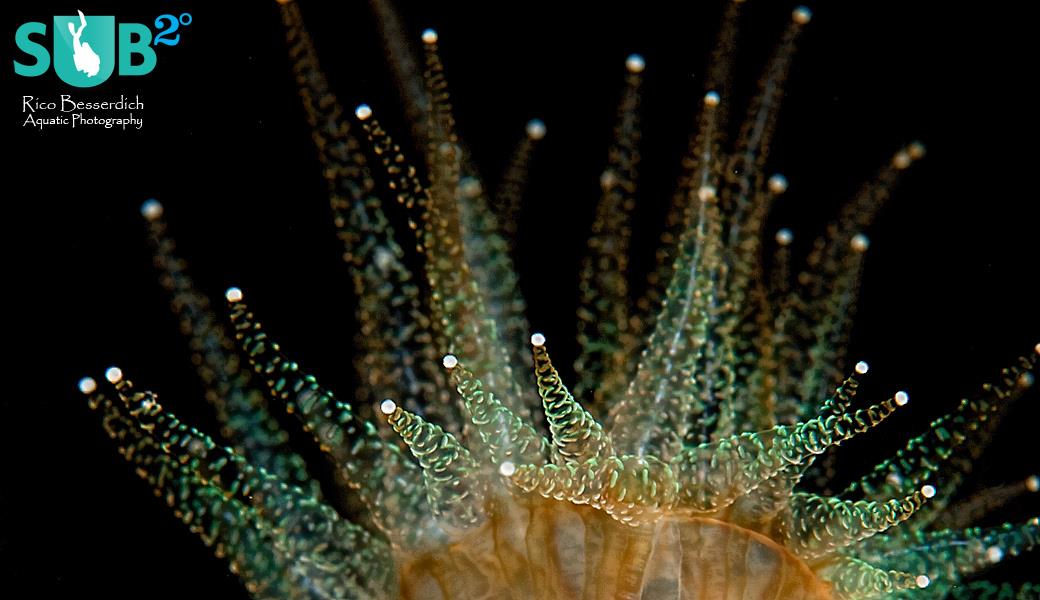
Phyllangia Universe
It's fine to spend some time for post production and work out the finest details, if the image has a potential. -

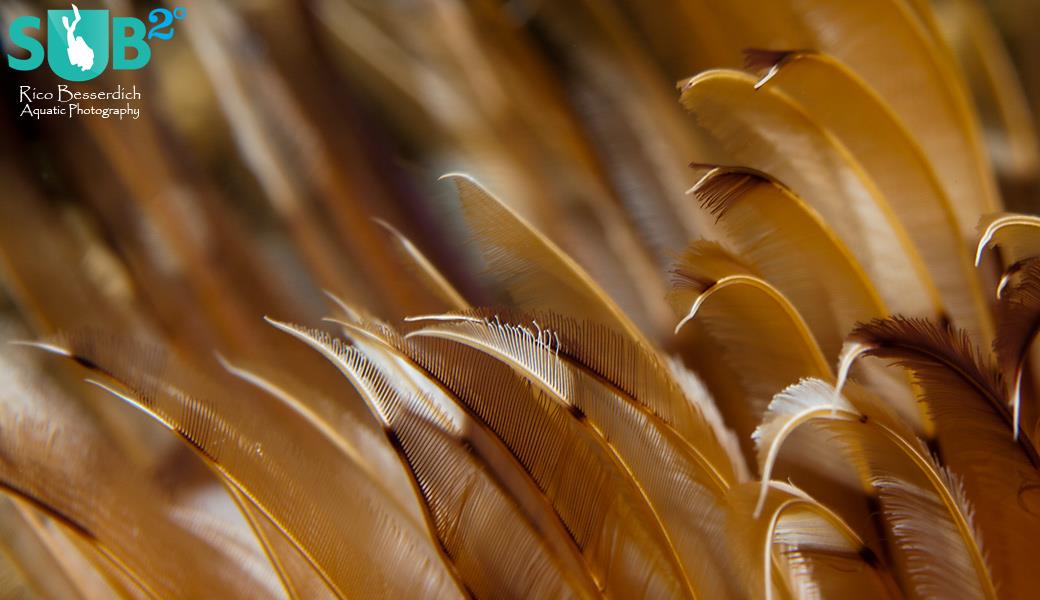
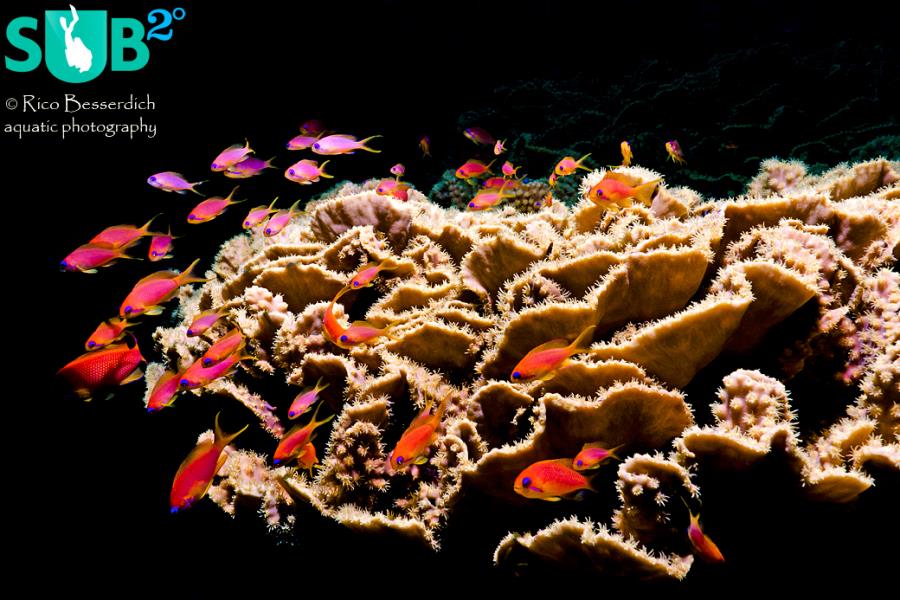
Tubeworm Details
Only white balance and sharpening were done to this RAW file. There is not always a need for extensive post production. -

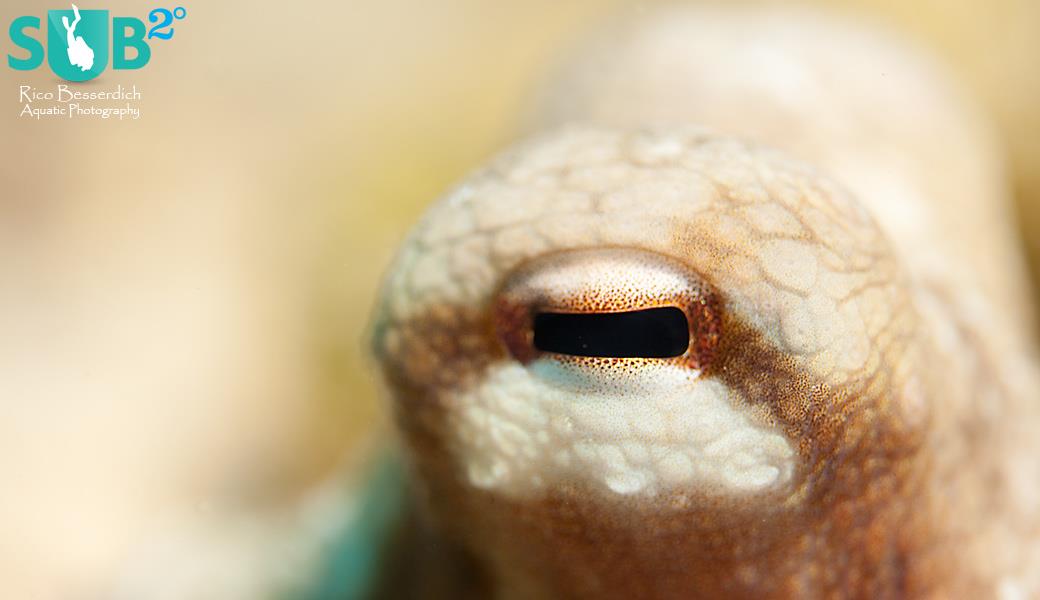
Octopus Eye
Unaltered RAW file. "Doing it while shooting it" saves you time. I liked the photo as it is, so I've left it like that. -
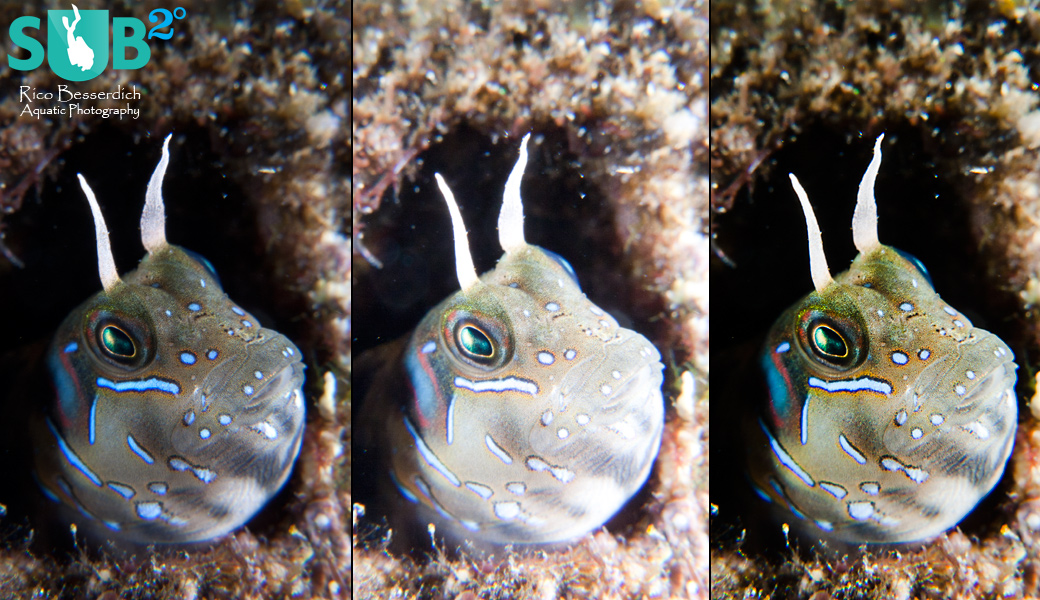
Pixel Works
1st: unaltered RAW file from the camera, 2nd: automatic fix with ACR, 3rd: after 1 minute of manual adjustments in ACR.
My Computer Killed My Images! Common Problems in Underwater Photography and their Solutions
"Postproduction" is the often-used magic word when giving a photo the final boost. In terms of photography, postproduction stands for the final editing process of an image after shooting it.
This can start with basic corrections such as white balance, tone, colors, contrast, and curve adjustments, and could end up with serious image manipulation such as adding or removing elements, tone-mapping, and many more.
Lots of options here – at the end it simply depends on how you want your photo to look like. It is your photo and you can do whatever you want with it!
The very first thing to consider:

The ideal photo is the one that requires none or only minimal postproduction. There is no image editing software existing that can fix the "mistakes" we did while diving with our cameras.
Instead of thinking "ah...no problem, I'll fix it later in Photoshop", it is much better to have our photo gear (camera, strobes, additional equipment) and basic settings such as the white balance according to what we want to shoot, properly set up before shooting. And yes, having basic knowledge of photography helps a lot here ;-) Let's name this "Pre-Production"; as a matter of fact; this is often the better way.
![]()
Photography is craftsmanship; and just like other crafts, the key lies in proper preparation before starting the work of creating something. Imagine a carpenter who plans to make a chair.
A good craftsman he is, he would, of course, know the kind of wood he is working with, what kind of tools/utensils he needs to get his work done and, most importantly, how the final chair has to look like.
Tip: Proper pre-production saves you a lot of time.
You may enjoy yourself while editing your photos on the computer, but if there are thousands of images and your time is limited, it's all a different story and the day will come where you will start to think of "pre-production" instead of endless postproduction ;-)
Those of us who shoot in RAW usually have to face a little postproduction work as RAW is the purest format with highest amount of data and color information. But since those RAW images are not altered by the camera (like what happens when shooting in JPG only), they often need a little hand before they are ready to go.
Those who shoot only in JPG do have the possibility of later postproduction as well, but as JPG is already a compressed image file format, later editing is limited and might come with further quality loss instead of improvement.
Many photographers are using Adobe Lightroom or Photoshop for the postproduction, but there are many other tools (some free, some not) available that do the same job, especially when it comes to basic corrections.
Problem here is that many don't know:
- What is needed to be fixed or improved
- How to do the fixes or improvements
All sliders in the software get moved to the right or to the left, changing the image sometimes in dramatic - not always good- ways. Buttons labeled with "automatic", "fix all" or even "I feel happy" are used often, but rarely with pleasing results.
For topside photos (not underwater), some automatic functions or presets are often working (not too bad) but for underwater images it is a complete different story.
There is, for us underwater photographers, no existing "fix it all and make me happy with one or 2 clicks" software function. Editing/postproduction of underwater photographs simply requires a different workflow.
Possible ways of such postproduction workflows, tips and some techniques, I will introduce here & in a different series soon.
For now, a few very basic tips:
- Firstly, try to always achieve the best possible image while shooting it (keep the "pre-production" in mind).
- White balance (RAW) should always be your first step of postproduction, and final sharpening the last one.
- Resist those nasty "automatic" & "fix it all" functions/buttons.
- If an image already looks great in your eyes, leave it as such.
- Try to "analyze" your image first and think over what needs to be done.
- Stay sensitive and do "slight" steps of correction; less is often better.
- Concentrate on small details (sometimes by going to 100% magnification), it is the summary of small, well worked out details that makes an image pop.
- Always keep a copy of your original image (especially when shooting only JPG) at a safe place. In best case, you have an "original" and "edited" folder for each photo series.
- Take your time, do the postproduction when you are fit & in the right mood. Review your postproduction results the next day (or even after a few days) and check that you still like it. Sometimes this might be not the case (caused by excitement, different moods or simply tiredness during the work). Re-edit, then (this is why you've kept the unaltered originals!)
- Give yourself the right amount of time to create the image that you like.
Happy bubbles, happy shooting, happy "post-producing" and always be safe :-)
Further Reading
Abstract Underwater Photography
Underwater Photography: Shooting Panoramas
Now that's a huge aircraft! Diving the Dakota DC3 in southern Turkey

Featured Posts
-
Please "Like" My Photo!
Once you've made some cool underwater shots, you would love to have more people notice your photos, for example by sharing them on Facebook. A path full of potential but lots of nasty obstacles on the way. Let's have a look!
-

Reef-Art: Looking at the Reef...
Reef-Art shows fascinating insights to an underwater world, 99% of the divers never see. Reef-Art is the "Fine Art" of macro photography. It's a passion! The passion to bring your audience something they don't expect, they h...
-
Underwater Photography: Shoot...
Are you ready for huge perspectives in your underwater photographs? Wide-angles are fine but do you want it even wider? Time to check out underwater panorama photography!
Load more comments
Jose 10/19/2015 10:26:13 PM excellent article. ¡¡I
Frank Nelissen 10/22/2015 1:38:58 PM Good straight tot he point article!