-
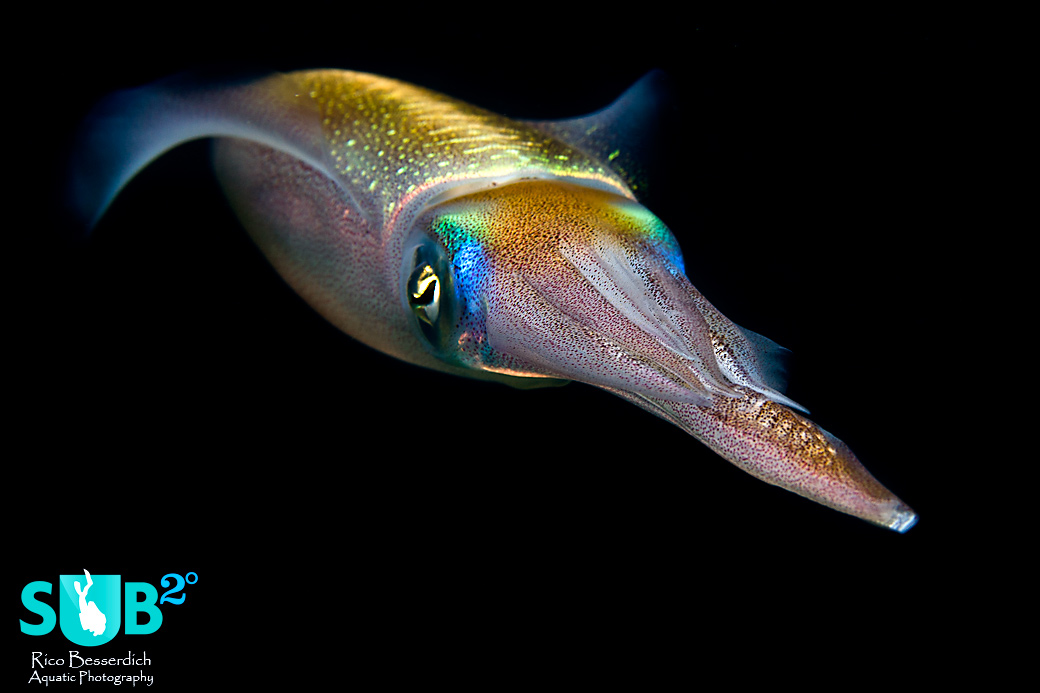
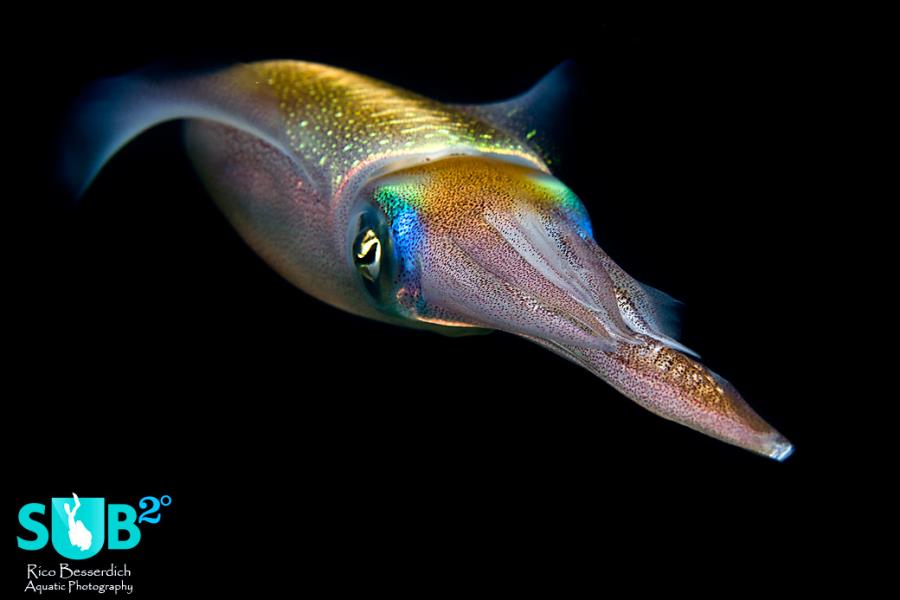
Squid
Still a colurful subject in front of a black background, and is the favorite of many beholders. -
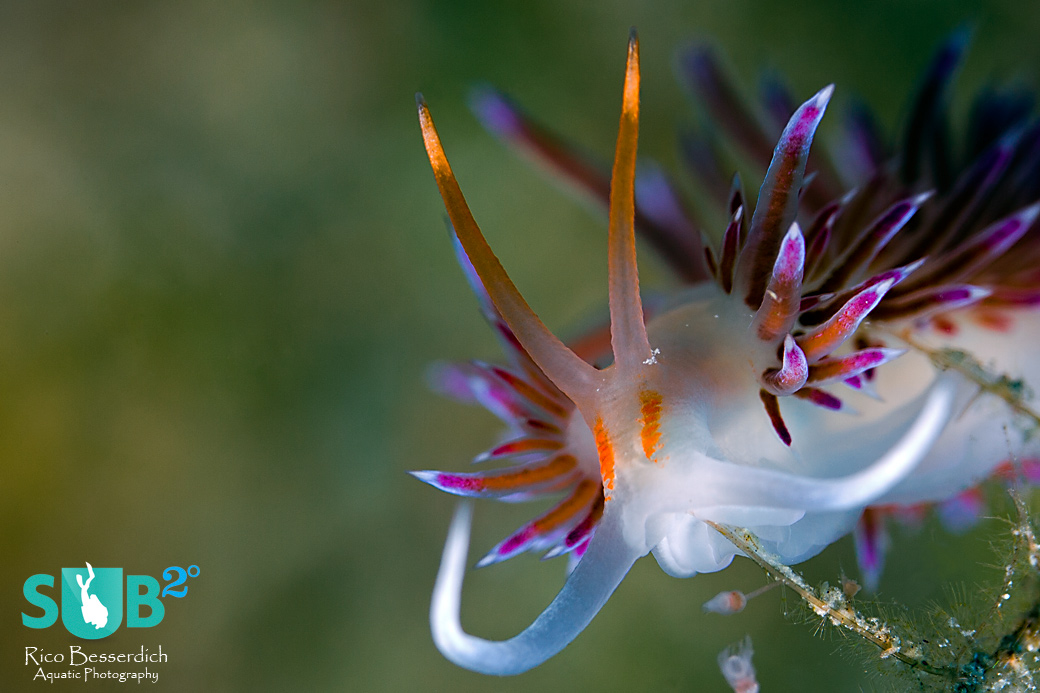
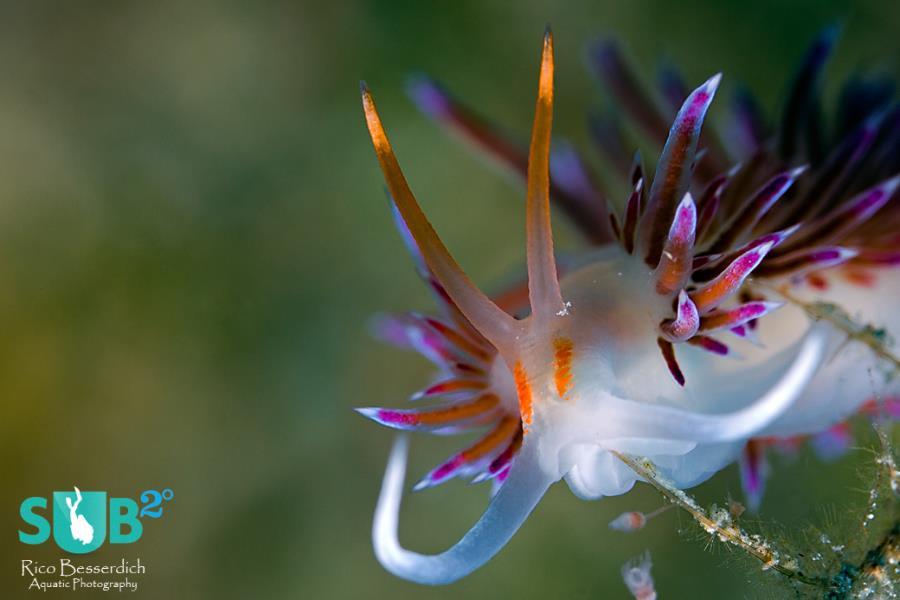
Nudibranch Portrait
Always feature the main actor. A neutral background helps a lot. -
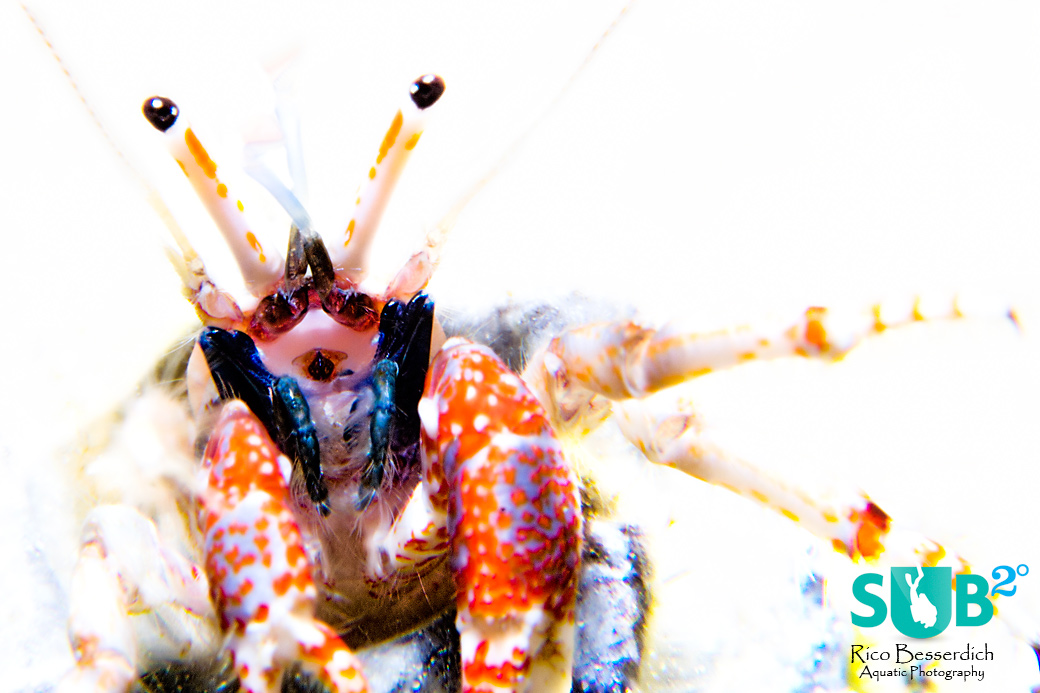
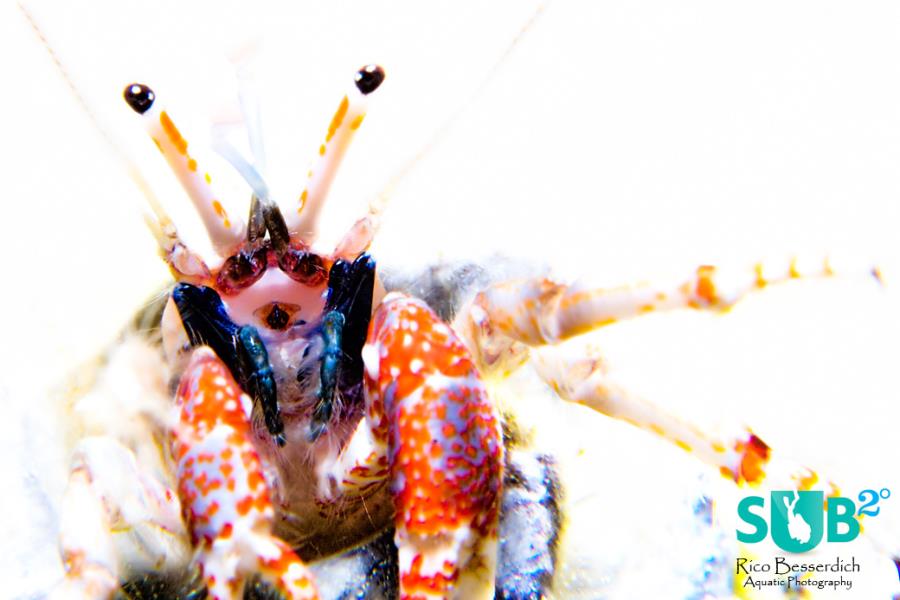
Highkey hermit crab
A neutral background can be white as the sandy bottom that reflected the flashlight in this photo. -
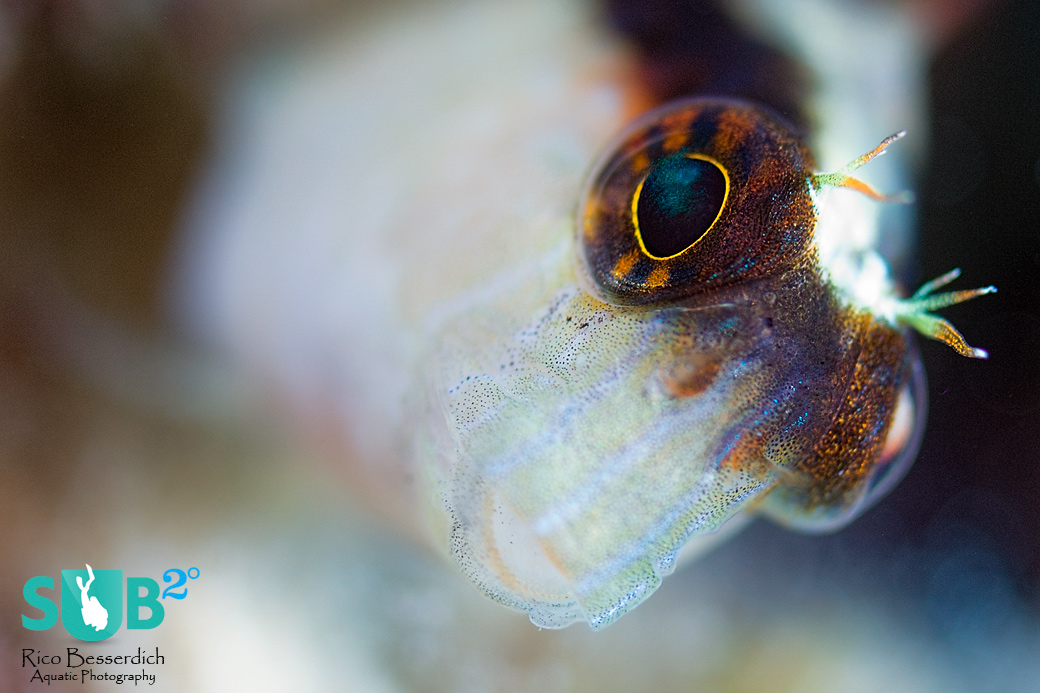
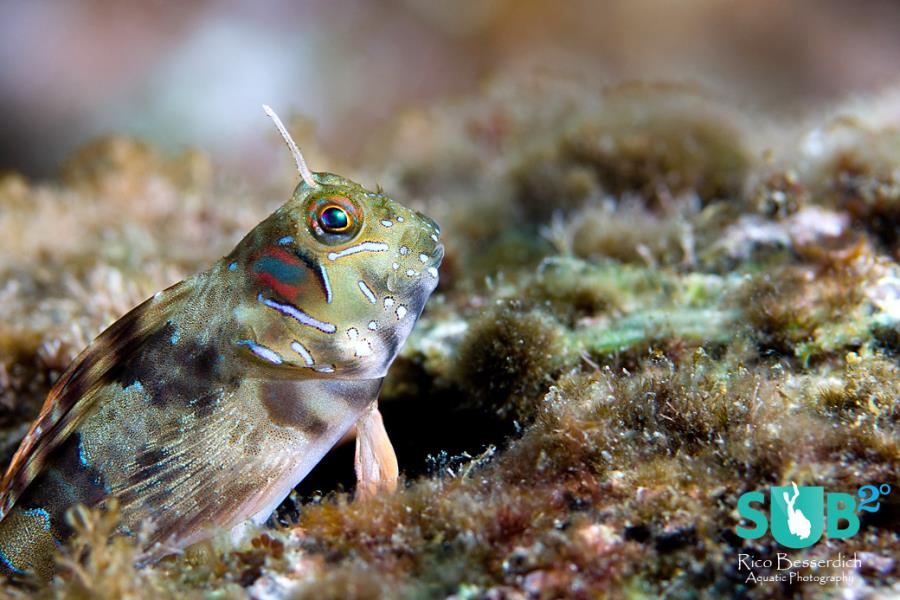
Bokeh Blenny
Macro shots with a wide open aperture ( here: f/3.5 ) are an interesting option for fish portraits. -
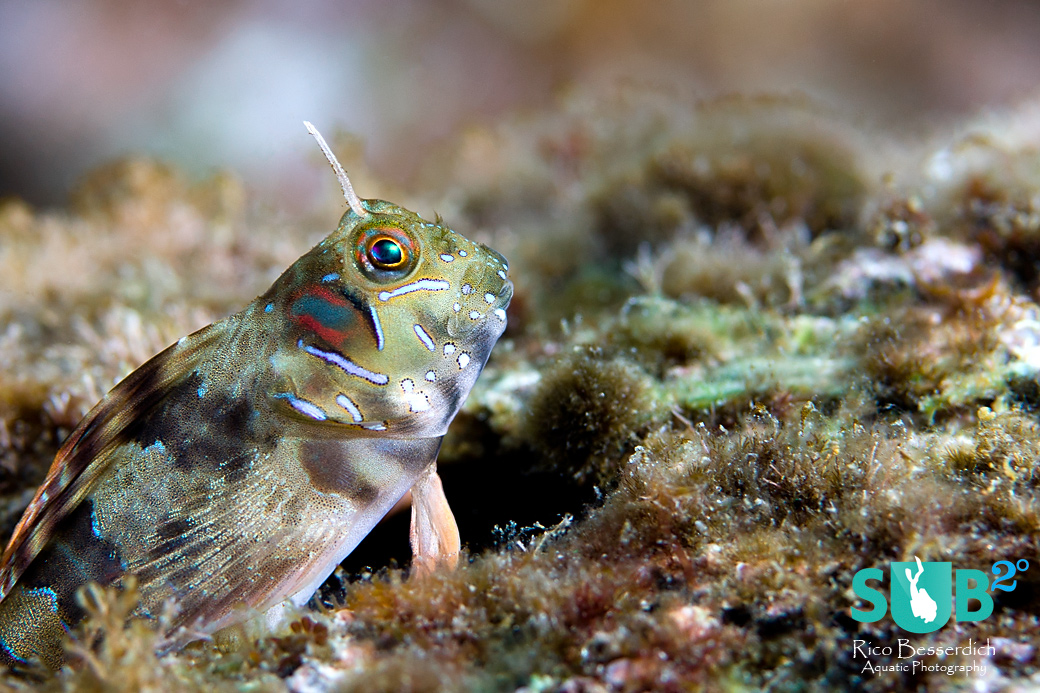
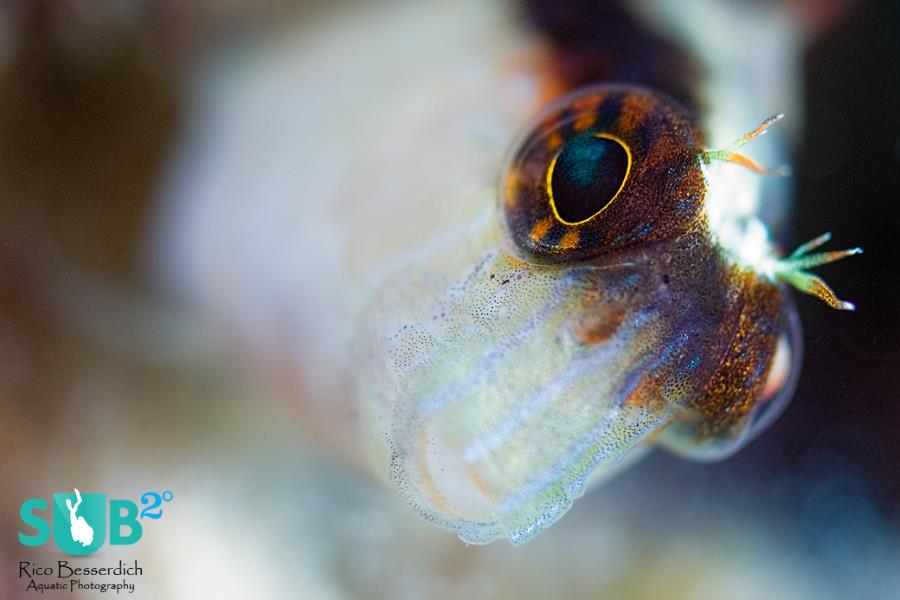
Who is the superstar ?
Beautiful "main actor" but with too many distracting elements around.
Distracting backgrounds and trouble with the focus – Common problems in underwater photography and their solutions- Part 4
Having read the first three parts of this series, you should remember “Ernest”, the barracuda. We had our difficulties with that fish but became good friends later. And of course we now have some really cool barracuda shots. Time to move on, bye bye Ernest!
6. Distracting backgrounds
Scenario: We are now swimming close to the reef, looking for some cool macro stuff. Luckily we spot a nudibranch, crawling between some stones, following her plans and objectives. Great! This one for sure will not swim away, which makes UW macro photography very popular, giving us a luxurious amount of time for creating a pleasant composition and doing our shot.
Our photo then shows a beautiful nudibranch, surrounded by stones. Unfortunately, the stones dominate the image and the beauty of the nudibranch is not as featured as she deserves. Not only in the world of movies, music or theatre do the main actors become a little grumpy if they are not presented in the right light. The same counts for underwater photography, too.
Problem: The distracting background dominates the image in a way that the main actor gets degraded to a supporting act.
Solution: To isolate the main subject in the image composition, a neutral background is often the best solution. Water works well as a neutral background, so it might be a good idea to change angle of shooting or wait until the nudibranch moves to a more photogenic position/location. Often they don't and even if they do: they do it very slowly.
A “plan B” here could be to adjust your lens aperture to something like f/8 to f/5.6. This would decrease the depth of field and blurs the background, so that the background appears as less distracting. Working with large apertures such as f/4 or even f/2.8 would come with a nice effect called Bokeh. Nowhere is it written that an interesting macro photo always needs to be done by using the maximum possible depth of field ;-)
Try to keep the basic guideline “always feature the main actor in a photo” in mind – it pays!
Important: Never touch an animal and place it elsewhere just to achieve a nice photo!
7. Not an ideal focus point
Scenario: With the recently mentioned tip in mind, we've spotted now another nudibranch. It's sitting on top of a small stone, looking around, waiting for someone or whatever nudibranchs have in mind. We can achieve a photo with blue water as a background- simply awesome. But at the same time our dive buddy fiddles at our pressure gauge, checking our air, and the dive guide is nearby too, watching us, as he/she wants to guide you to the safety stop area.
We do a few quick shots and then surrender to the “group pressure”, leaving the place, wishing the nudibranch a good day. The photos don’t “look bad”, but the focus point (sharp area in the image) is not where it should be.
Problem: Due to disturbance (complaining dive buddies, restless dive guides etc.), lack of concentration or difficulties with the photo equipment, not enough attention was spent to check for proper focus area.
Solution: Proper UW photography needs patience, concentration, calmness but also proper communication. Talk with your dive buddy and dive guide before the dive about the “objective of the dive”.
“Plan the dive and dive the plan” has much importance to UW photography as well. If you know that your dive is going to end soon, don't try to fill your camera's memory card frantically. This leads to no good. Do it slowly, easy and relaxed – quality, not quantity is the key here.
Do not leave the decision of the “correct focus point” to your camera. The area of sharpness is a very powerful tool of image composition, but this is unknown to a camera.
What the camera believes a proper area to focus on is, is often not the one that creates a stunning image because the camera electronics measure only contrasts to achieve proper focus. They are just machines, they don't know better ;-) It’s a good idea to always double check whether the focus is set to the area where you want to have it.
For marine life forms with eyes, it always works well to have both or at least one eye in focus, meaning, shown sharp in the image. For nudibranches - as a rule of thumb - the rhinospheres should be in proper focus.
These however are general guidelines, not rules. There are no “rules” existing for a creative photographer, but it is always good to know some basics.
Underwater photography is fun. Enjoy it as such!
Happy bubbles, happy shootings and always be safe :-)
Further Reading
Go Back to Part 3 - Snorkeling Perspective and Cut Fins
Go Back to Part 2 - On the run!
Don't Miss Part 1 - Fight the Photo Bugs!
Overview of Scuba Diving in Turkey
Featured Posts
-
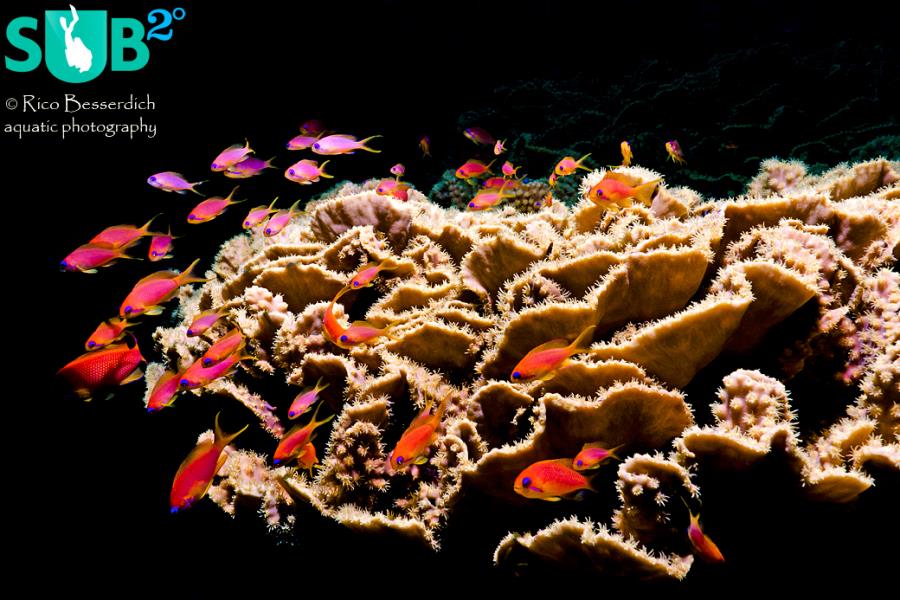
Please "Like" My Photo!
Once you've made some cool underwater shots, you would love to have more people notice your photos, for example by sharing them on Facebook. A path full of potential but lots of nasty obstacles on the way. Let's have a look!
-
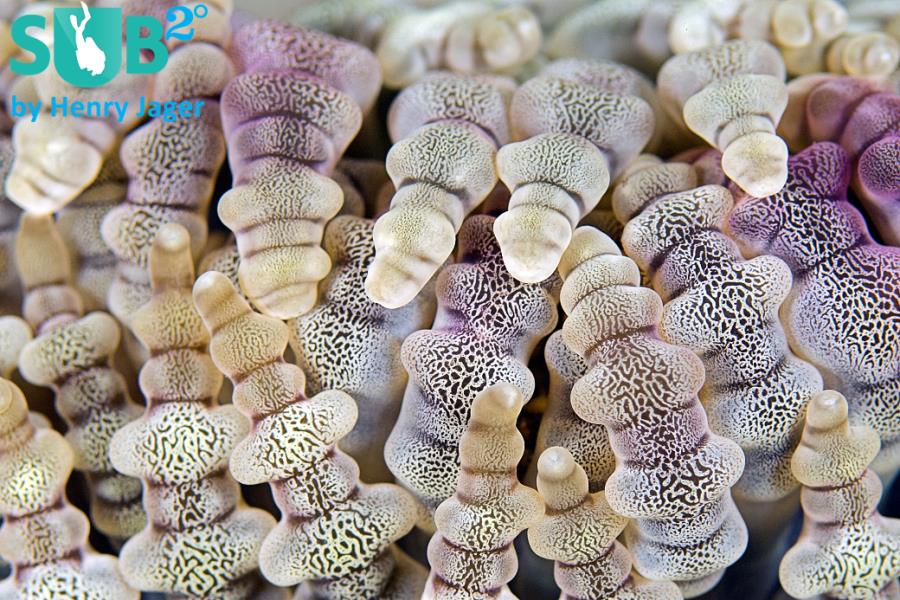
Reef-Art: Looking at the Reef...
Reef-Art shows fascinating insights to an underwater world, 99% of the divers never see. Reef-Art is the "Fine Art" of macro photography. It's a passion! The passion to bring your audience something they don't expect, they h...
-
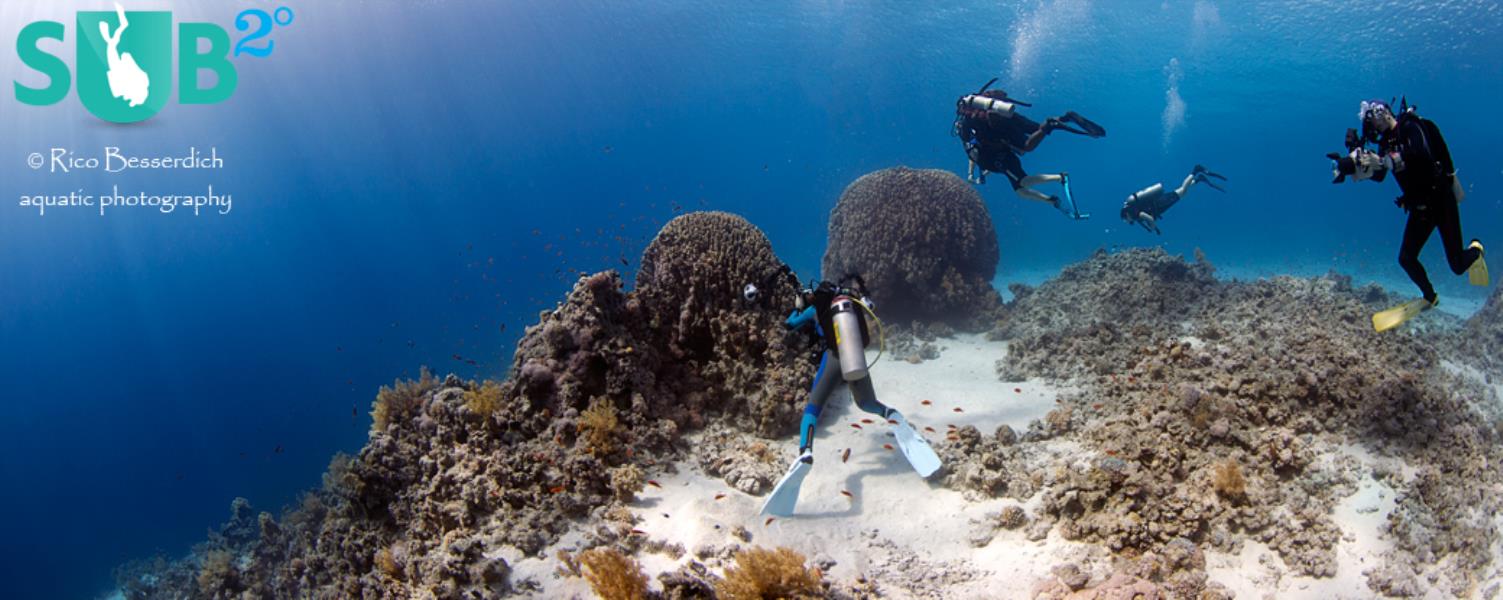
Underwater Photography: Shoot...
Are you ready for huge perspectives in your underwater photographs? Wide-angles are fine but do you want it even wider? Time to check out underwater panorama photography!


Load more comments
Timur K 7/4/2013 11:21:53 PM good post Rico!