Published
Feb. 17,
2017
The Final Touch: Post Production of UW Images (Part 6a: Retouche Basics)
It shouldn't happen but sometimes it does anyway, those annoying little white dots in our underwater images that distract from the overall expression of the photograph. Known as backscatter, these dots appear when small particles in the water reflect the light of your strobe. The more directly the strobe light hits the subject, the higher the risk of backscatter. That's why a strobe should not be pointed straight at the subject, a more indirect lighting (having your strobes positioned slightly outwards or inwards but never directly to the subject) is the main "trick" to minimize or even prevent backscatter.
Not much can be done with an underwater image that is covered with "white snow" but to get rid of a few backscatter dots is no big deal. How many "dots" you are willing to remove is up to you, and it depends on the image as well. It also depends on how much work you are willing to invest during post production. Just keep in mind that hours with the camera underwater are way more fun than hours in front of a computer.
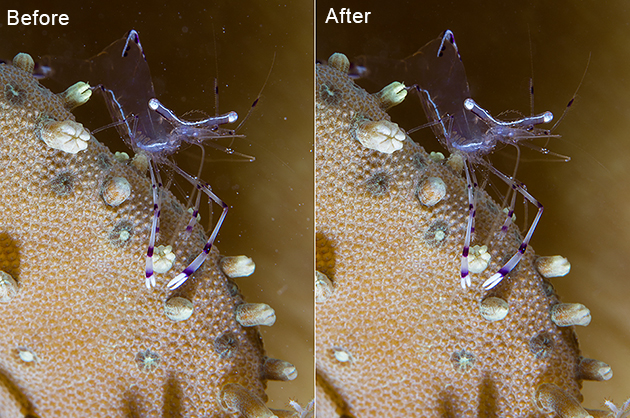
For this tutorial, I have found an image of a shrimp sitting on a soft coral:
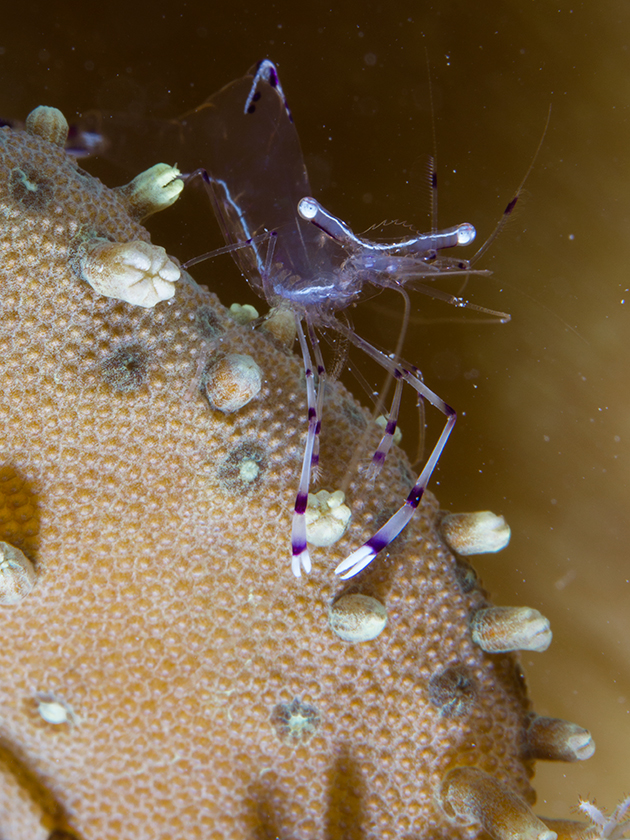
I adjusted the white balance, a few very subtle exposure corrections, and a slight curve alteration for the contrast. That's OK for me so far, but there are several backscatter dots caused by my - not very cleverly positioned- strobe light.
Here is a zoomed in screenshot with a few of those little troublemakers marked in red:
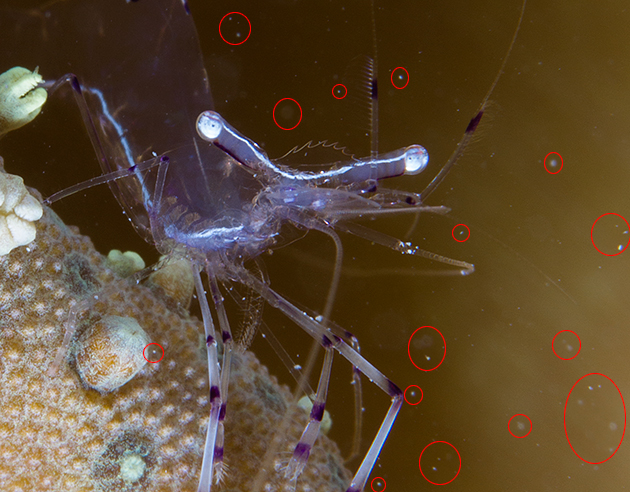
It is crucial to always zoom in to 100% magnification when post processing your photographs, checking for fine details, working with full concentration, and accepting nothing less than the best as a result.
In this example photo, I find it acceptable to spend a little time (this is a 5-10 minute job in post production) to get rid of those backscatter dots, especially because the backscatter is in the image's background and does not cover the main subject (the shrimp).
For such tasks I personally prefer to work with Photoshop, but a small amount of backscatter can be fixed with Adobe Camera Raw or Lightroom as well. In this tutorial, I will show you how to do it in ACR & Lightroom, advanced techniques in Photoshop will follow in the next tutorial.
For both Photoshop & Lightroom, there are ready-made filters, plugins, and "action scripts" available that pretend to fix such backscatter problems automatically. But most of these "automatics" are working with blur filters that – on a first view – indeed eliminate the disturbing dots, but for the price of losing important image details. That’s why my personal choice is to do such fixes the "manual" way, trying to keep as many image details and information as possible. An image with a terrifying overload of backscatter is the image that I would throw in the bin and try to do better next time. With my camera, not with Photoshop ;-)
How to fix a few backscatters in Adobe Camera Raw:
- Open your image in ACR.
- Zoom into the image to locate the "trouble zones".
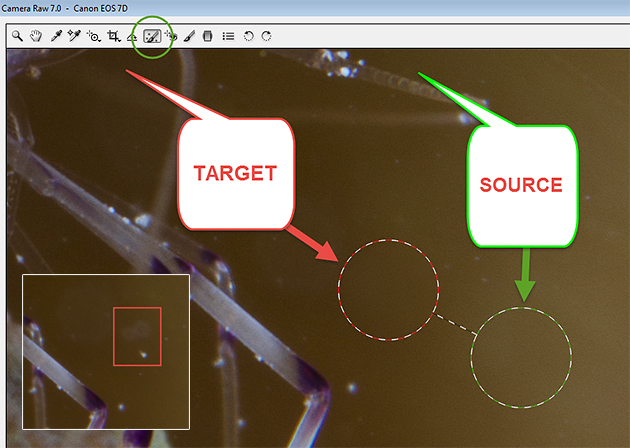
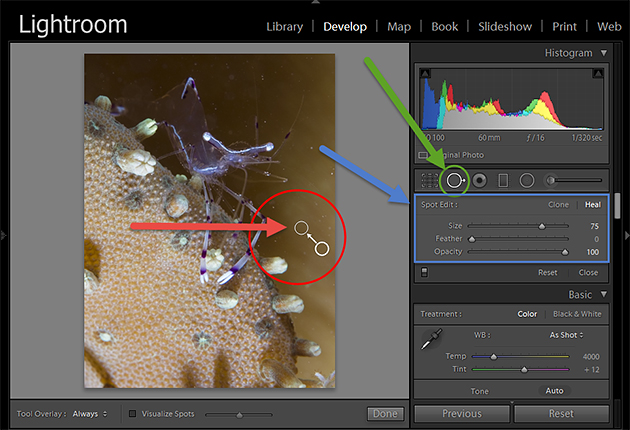
- Select the "Spot Removal Tool" (the 8th icon in the tools section on the top, or shortcut "B" on your keyboard).
- Make sure that the tool is set to "heal" and opacity to 100%.
- Locate a backscatter dot and set the Radius of the Spot Removal Tool to a size in which its circle is just a bit larger than the backscatter dot you want to remove.
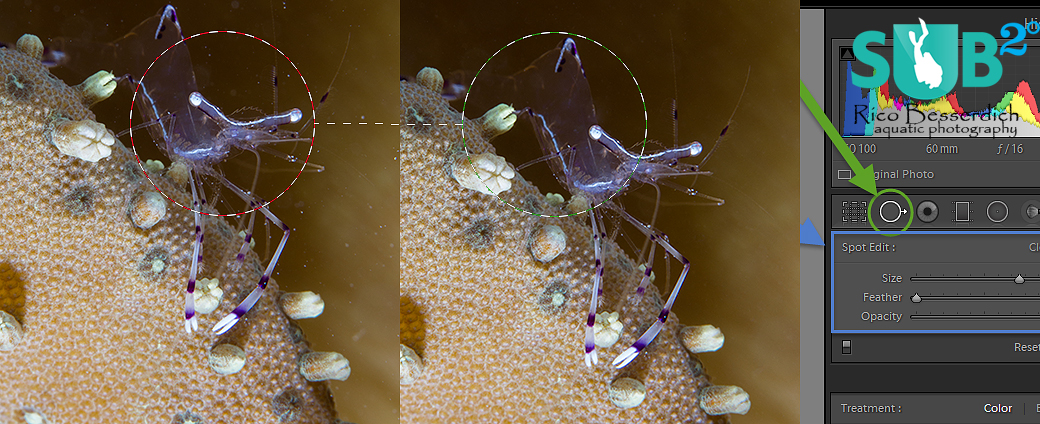
- Click on the backscatter. You see now 2 circle-shaped areas: the red one is the area that will be fixed (= target), the green one is the area where the ACR takes the information of an area with "correct" information (no backscatter) that will be used to erase the backscatter (= source). You can move the green circle with your mouse until you are satisfied with the result.
Red circle: the area of the image that you want to fix. It is already fixed; check the inserted square to see how it looked before.
Green circle: From this image area a sample will be taken to repair the "trouble zone".
Not only should you choose a "healthy" area - one with no backscatter- but also one that has the same color information as your target. Choosing, for example, a blue color area to fix a backscatter in a yellow color area would result in a blue dot instead of a backscatter.
Always work in 100% magnification. You can easily switch between the "Spot Removal Tool" (B) and the "Hand" Tool (H) for moving around in your image in higher magnification.
In Lightroom, the technique works in similar ways. The Spot Removal Tool is located in the "development" section to the right and can be activated with the keyboard shortcut "Q".
After 10 minutes of work, we’ve fixed the backscatter!
Further Reading
Continue Reading Part 6b - Retouche Basics
Back to Part 5 - Fixing Color Casts

Featured Posts
-
Please "Like" My Photo!
Once you've made some cool underwater shots, you would love to have more people notice your photos, for example by sharing them on Facebook. A path full of potential but lots of nasty obstacles on the way. Let's have a look!
-

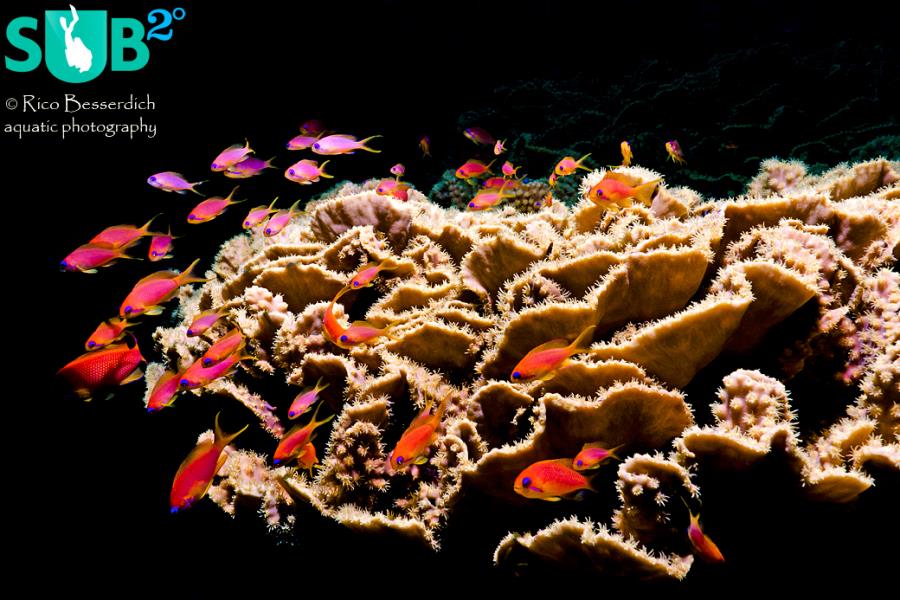
Reef-Art: Looking at the Reef...
Reef-Art shows fascinating insights to an underwater world, 99% of the divers never see. Reef-Art is the "Fine Art" of macro photography. It's a passion! The passion to bring your audience something they don't expect, they h...
-
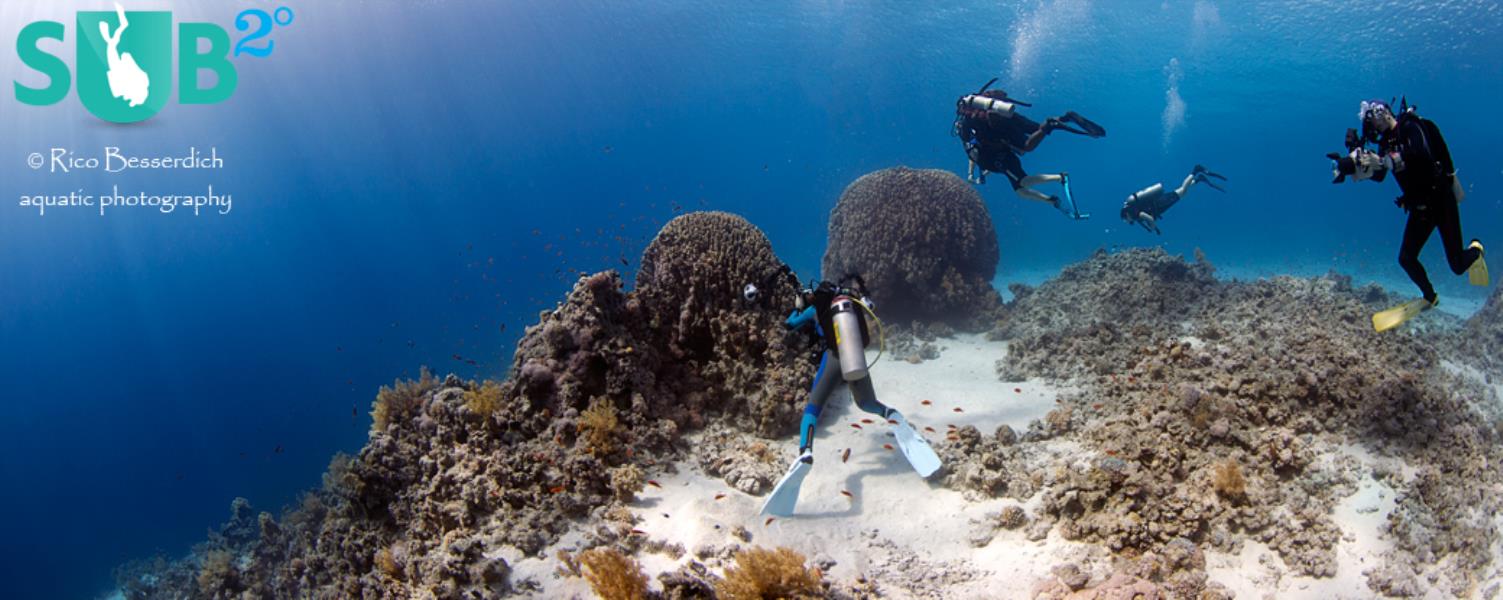
Underwater Photography: Shoot...
Are you ready for huge perspectives in your underwater photographs? Wide-angles are fine but do you want it even wider? Time to check out underwater panorama photography!
Load more comments